1. To create a new Main Menu go to:

This tutorial demonstrates how to create a custom menu in WordPress and how to create a menu structure.:
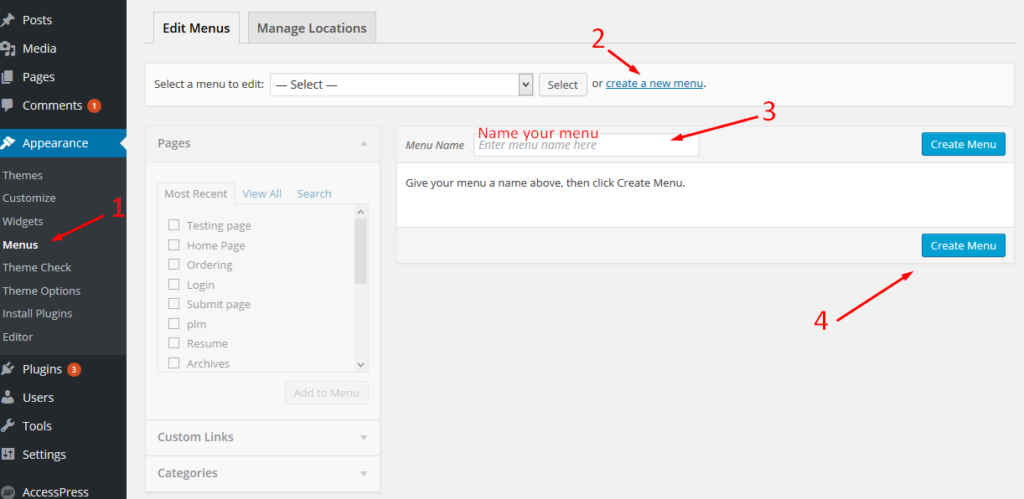
- Go to your WordPress Dashboard > Appearance > Menus
- Click on the “create a new menu” link.
- Write a name for you menu.
- Press Create Menu button.
2. To customize your new Menu:
- Start to add menu items from the left panels (Homepages, Pages, Links, Categories).
- You can manage your menus by using the drag and drop functionality and rearrange the menu items in the desired order.
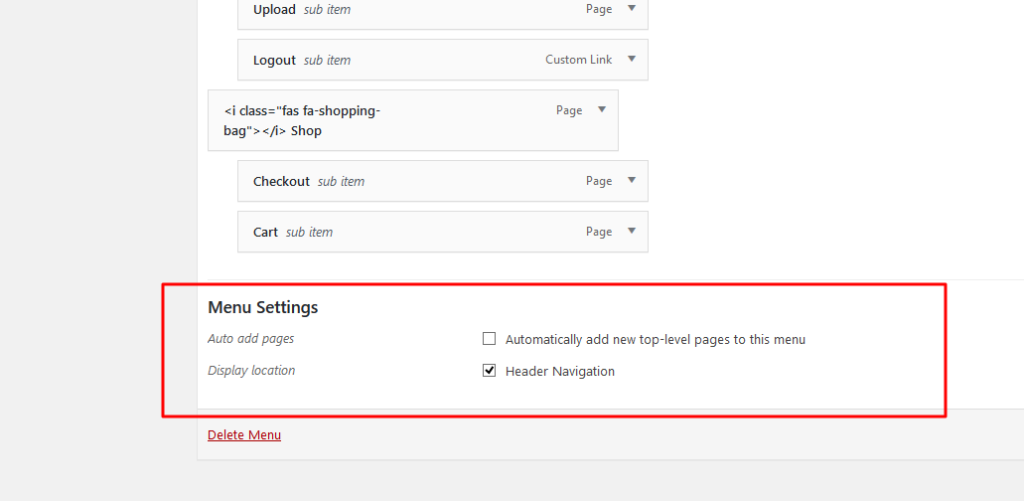
After setting up your menu, scroll down to the bottom of the page and assign the menu to the “Header Navigation” Theme Locations at the bottom. Select Header Navigation same thing you see in the photo from the below. - Click the Save Menu button.
3. Add Icons to your new Menu:
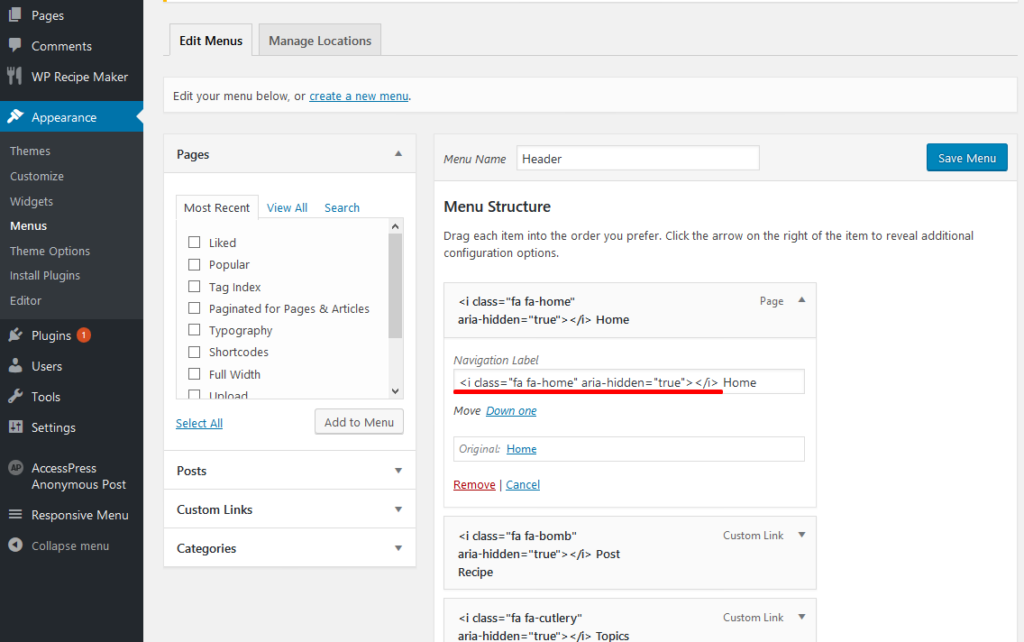
- To add a font ICON: select a menu that you want to edit and paste the icon code in a menu item, then save the menu. To preview all available Font Awesome icons go to http://fortawesome.github.io/Font-Awesome/icons/.

- Now, edit your menu and just paste the code you’ve copied:
4. Display “Account” menu to the right:
Go to Appearance > Menus and at the top in the right corner you’ll see “Screen Options”, click the “Screen Options” and check “CSS Classes”, like this:
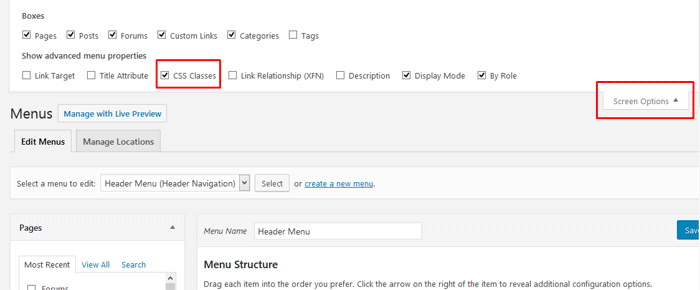
Once you’ve checked the “CSS Classes”, you’ll see a new field to the menus “CSS Classes (optional)”. In order to move a menu to the right, for example, the “Account”, you’ll need to add the class “right”, like this:

5. Display pages to users that are “Logged Out” or “Logged In”:
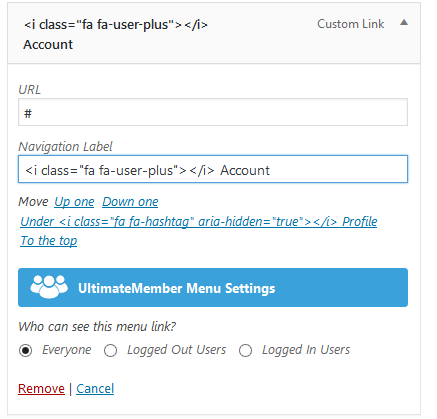
Once you expand a menu item you will see the Ultimate Member section called: “UltimateMember Menu Settings”. This is where we will add a condition to this menu item, for example:
- Navigation Label: Account (custom link)
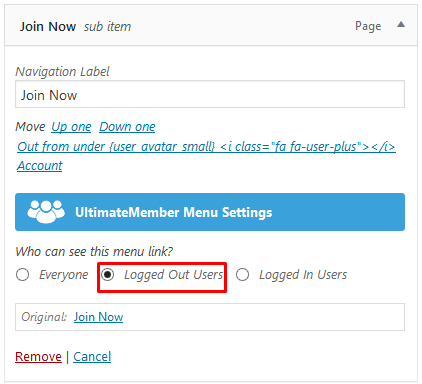
- Navigation Label: Join Now or by default Register
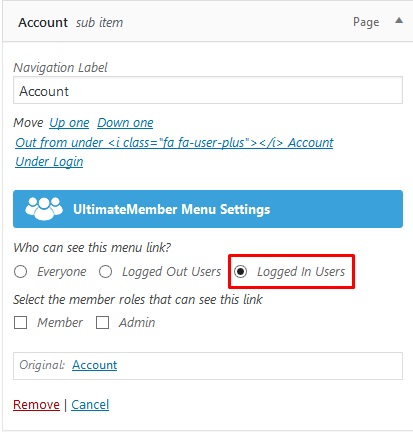
- Navigation Label: Account
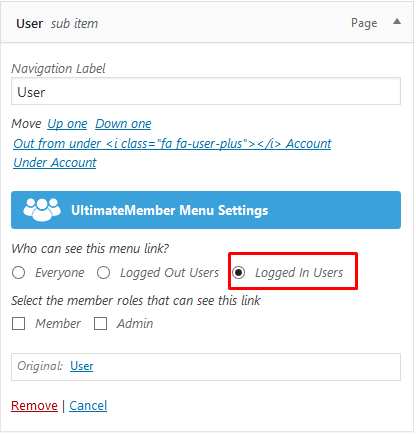
- Navigation Label: User
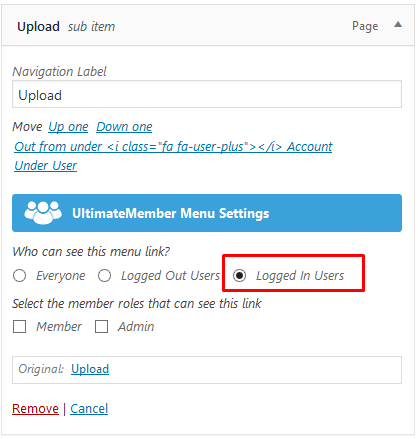
- Navigation Label: Upload
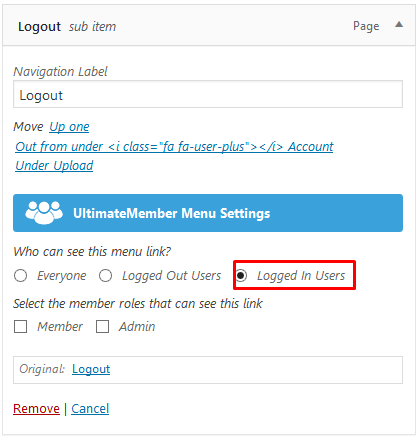
- Navigation Label: Logout
Everyone, logged out users or logged in users
You have three options to select from when deciding who can see a menu item: everyone logged out users and logged in users.
Everyone – Everyone is the default state for menu items and means that everyone who visits your site will see this menu item.
Logged out users – If you select this option it means that this menu item will only be visible to visitors (e.g logged out users). When someone logs into your site they will no longer see this menu item.
Logged in users – If you select this option it means that this menu item will only be visible to logged-in users. Visitors and non-members will not see this link. Once logged in users are select you will see some checkboxes appear which show all the Ultimate Member roles on your site. If you want to show a menu link to a certain role(s) then you can select the roles that will be able to see the link.