1- Footer Navigation / Menu

This tutorial demonstrates how to create a custom menu in WordPress and how to create a menu structure :
- Go to your WordPress Dashboard > Appearance > Menus
- Click on the “create a new menu” link.
- Write a name for you menu.
- Press Create Menu button.
- Selection menu location “Footer Navigation”.
- Click “Save Menu” and that’s it, now the menu will be displayed with the waves effect.
2. Footer Menu configuration
If you’ve followed the header menu tutorial, now you have “CSS Classes” activated, if you don’t have it, go to Appearance > Menus and at the top, in the right corner you’ll see “Screen Options”, click the “Screen Options” and check “CSS Classes”. If you don’t know how to do it, take a look at the “Header menu” steps.
One of the pages/categories/ Custom links you’ve added to your footer menu, need to have the class “current”, the page/link that will have that class will be displayed first in smaller devices. You’ll need to add the “current” class like this:

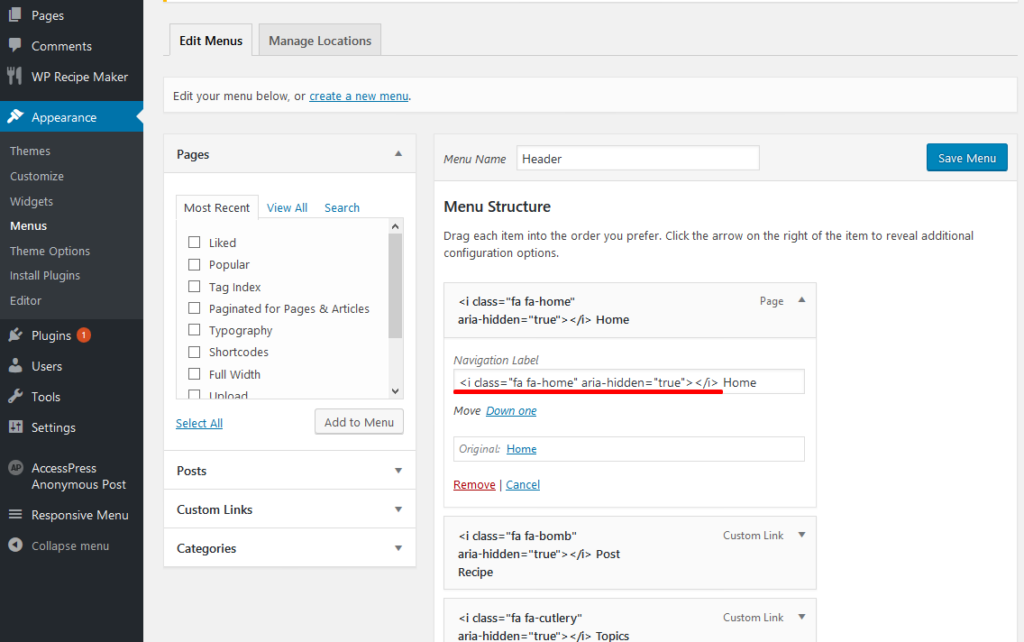
3. Add Icons to your new Menu:
- To add a font ICON: select a menu that you want to edit and paste the icon code in a menu item, then save the menu. To preview all available Font Awesome icons go to http://fortawesome.github.io/Font-Awesome/icons/ or from IcoFont http://icofont.com/icons/.

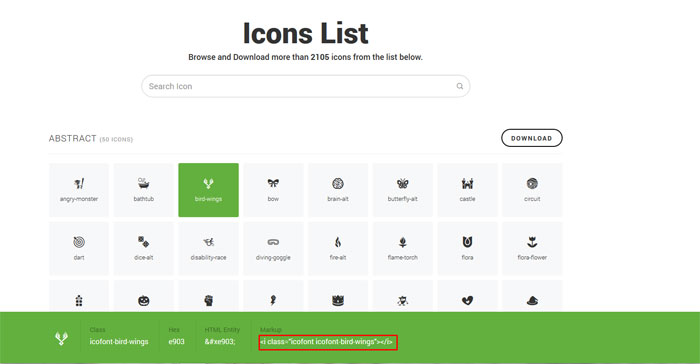
- Now, edit your menu and just paste the code you’ve copied: