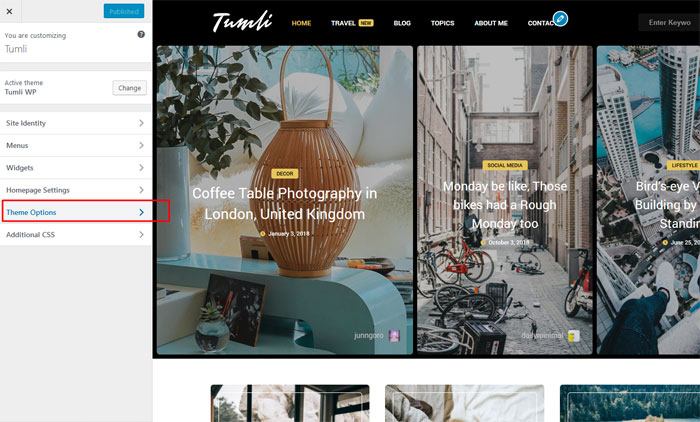
For Theme Optons Settings: go To WordPress Dashboard > Appearance and click “Customize” and now you’ll see “Theme Options” settings:
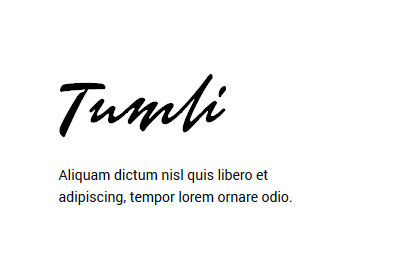
Logo
Go to Theme Options > General Settings > Custom Logo. Upload a custom logo image for your site here. Size for height should be 90px or 180px for a better display, for retina screens.
Social
Go to Theme Options > General Settings > Social Icons. For more social icons go to Font Awesome and at the bottom, you have Brand Icons!
Change “#” with your link, like this “https://facebook.com/anthemes.club”.
Top viewed Posts
Go to Theme Options > Blog Settings > Display Top viewed Posts? And select “Yes” and click “Published” in order to display the Top viewed posts.
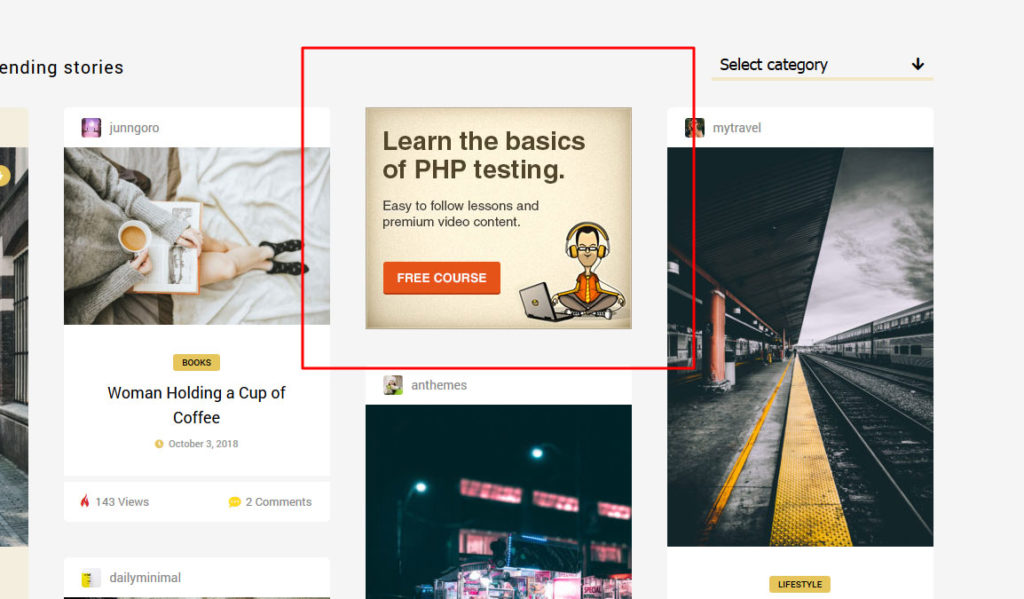
Promo Boxes

Go to Theme Options > Blog Settings > Display Promo Boxes? And select “Yes” and click “Published” in order to display the Promo Boxes.
Ads Settings
Go to Theme Options > Ads Settings > Home: Display 1st AD? And select “Yes” for 1st and 2nd AD and click “Published” in order to display the Ads.
Style Settings
Go to Theme Options > Style Settings and use the color picker to change the main color of the site to match your brand color.
Footer Settings
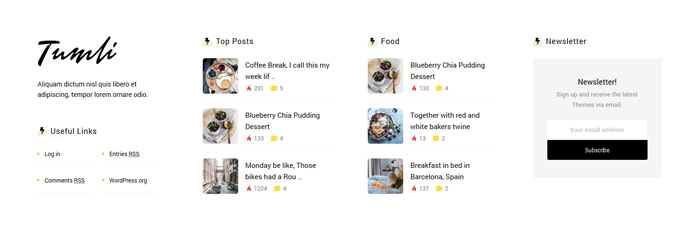
Go to Theme Options > Footer Settings > Display: Footer Widgets? And select “Yes” and click “Published” in order to display the Ads.
Copyright Settings
Go to Theme Options > Footer Settings > Copyright Left and change the default one with your text.
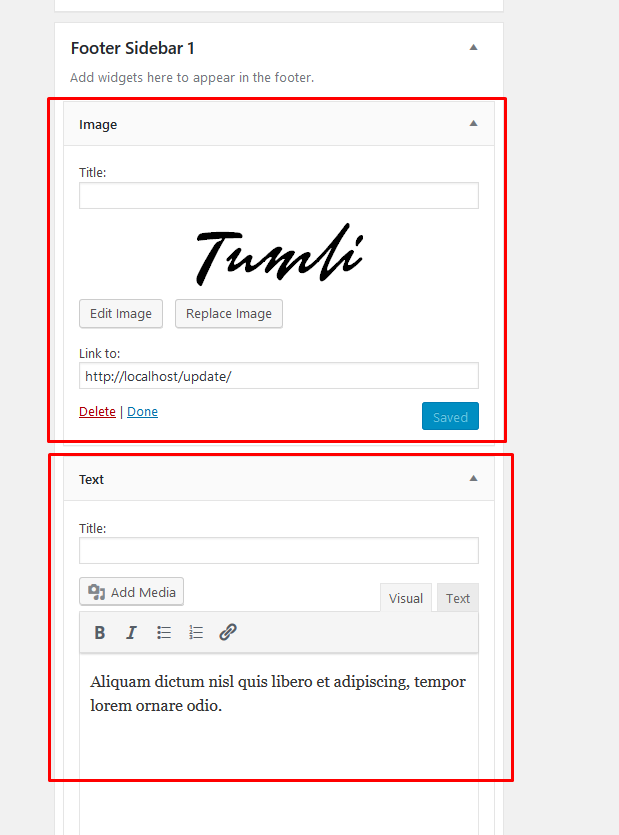
Logo & Text
Go to Appearance > Widgets > and drag and drop the widgets: “Image” and “Text”. Upload your logo for the footer, but don’t add a title to the widget. And for the Widget “Text”, and your site info, but without the Title, the same thing you’ve done with the Widget Image. Like this: